1 - Setup
info
Xamarin.iOS is currently supported on physical devices, however the iOS simulator is not supported yet. Xamarin. Android is support is coming soon.
The following guide will show you how to build a task list application using Xamarin. This tutorial also shows you how to build an example user interface for iOS.
Follow the official Xamarin guide for Android for Android-specific code samples.
macOS
Before getting started, you will need the latest version of Xcode and Visual Studio 2022 for Mac.
Once the Visual Studio installer is complete, launch Visual Studio and open the
Preferences dialog (Visual Studio menu -> Preferences..., or the ⌘, keyboard shortcut).
Navigate to the Build and Debug -> SDK Locations -> .NET Core section on the left.
Under .NET Core Command Line browse to or enter the following in the Location: box:
/usr/local/share/dotnet/dotnetIn addition, you should have a decent familiarity with C# and UIKit.
Finally, add the following lines to your AppName.csproj file:
<?xml version="1.0" encoding="utf-8"?><Project DefaultTargets="Build" ToolsVersion="4.0" xmlns="http://schemas.microsoft.com/developer/msbuild/2003"> // 1. <PropertyGroup> <RuntimeIdentifier>osx</RuntimeIdentifier> <NuGetRuntimeIdentifier>osx</NuGetRuntimeIdentifier> <AutoGenerateBindingRedirects>true</AutoGenerateBindingRedirects> </PropertyGroup> .... Windows
Xamarin.Android development can be done entirely on a Windows box, but a Mac with Xcode is required for some parts of Xamarin.iOS development. It is possible to Pair to Mac from Visual Studio on a Windows PC.
1-1 Create the App
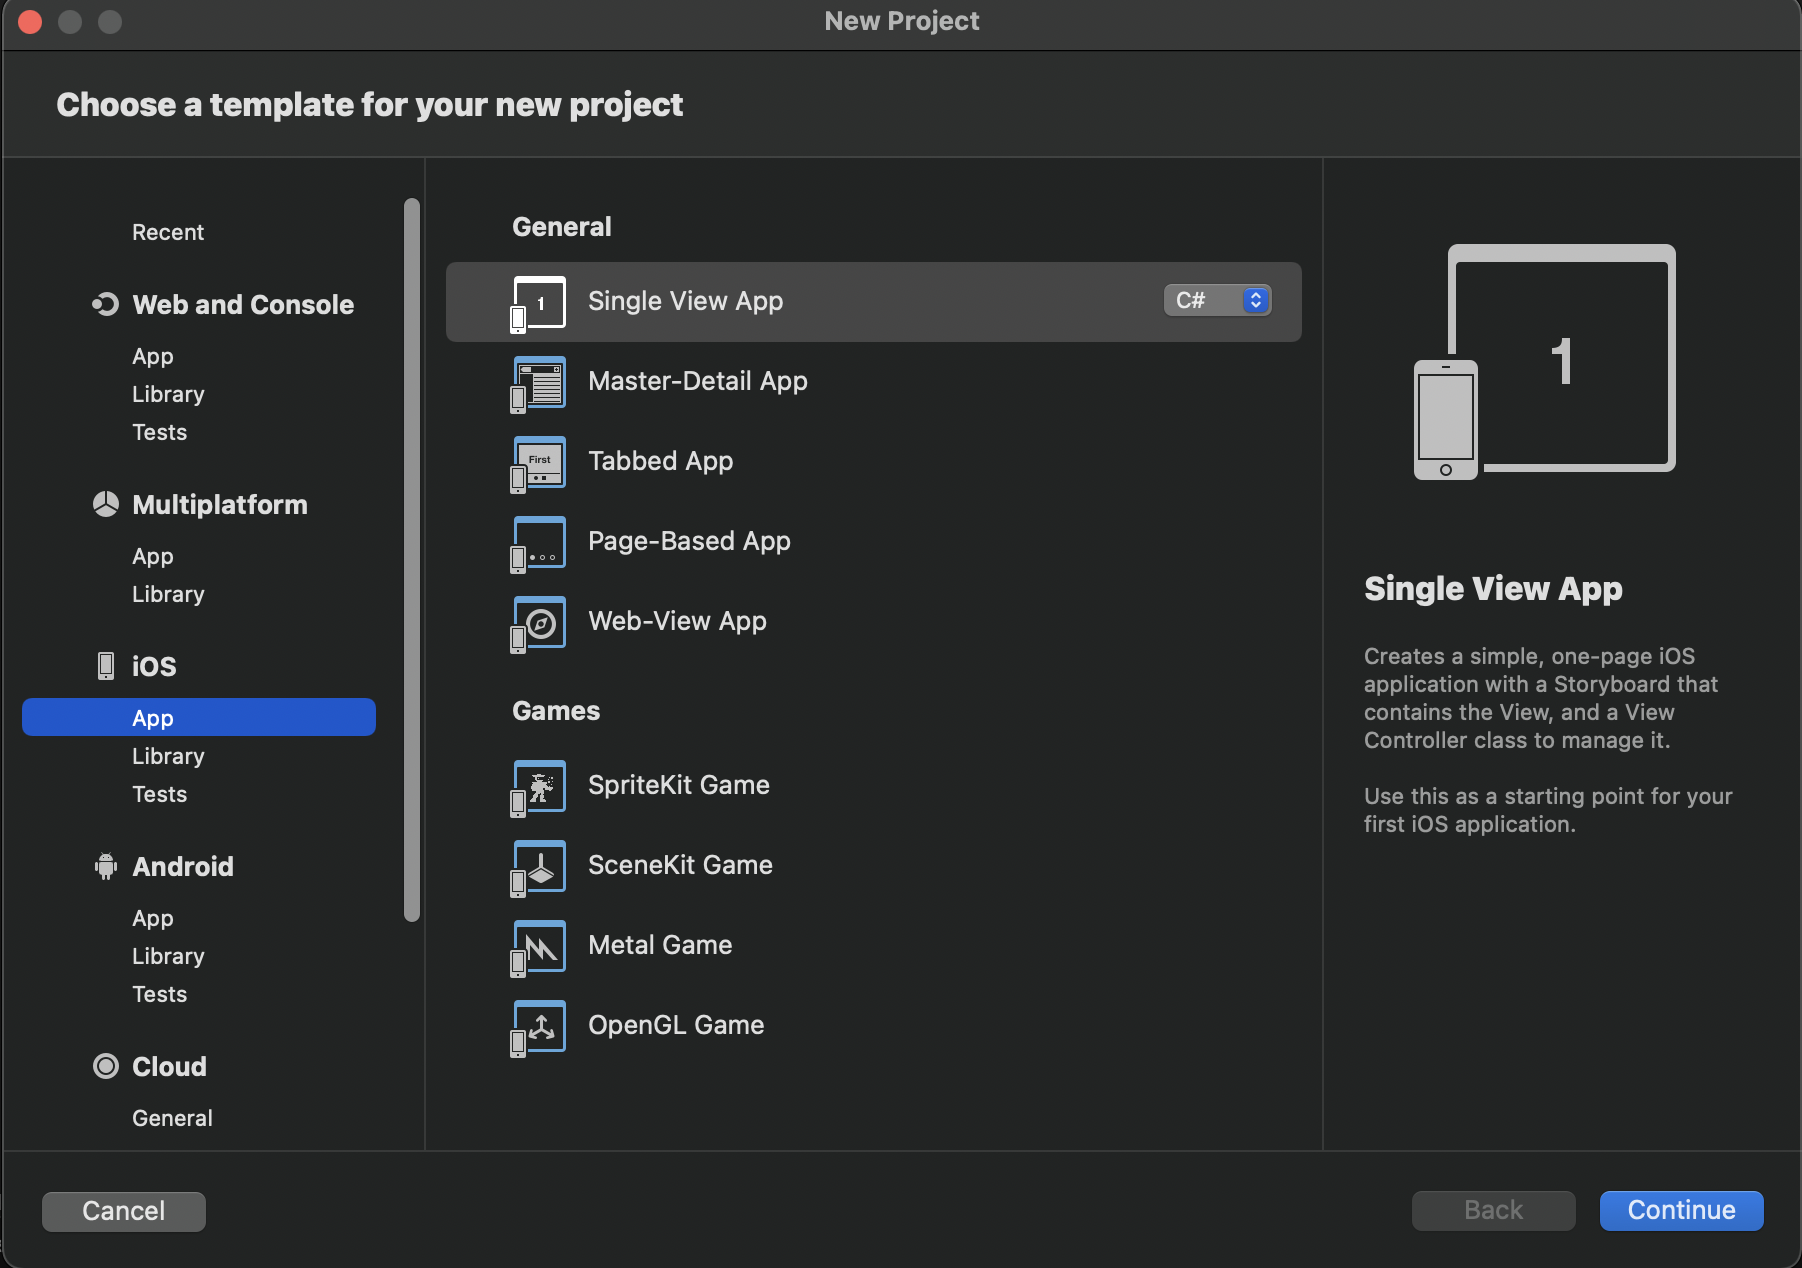
Once you've installed the latest version of Xcode and Visual Studio, Open Visual Studio and click
File > New Project under IOS select App and then Single View App. Make sure language is C#
Fill out the information on the form similar to the screenshot below. These are recommended values however they are not crucial to complete this tutorial:
- App Name:
"Tasks" - Organization Identifier:
"live.ditto". However, feel free to use your own value here. - Target: iOS 12.0
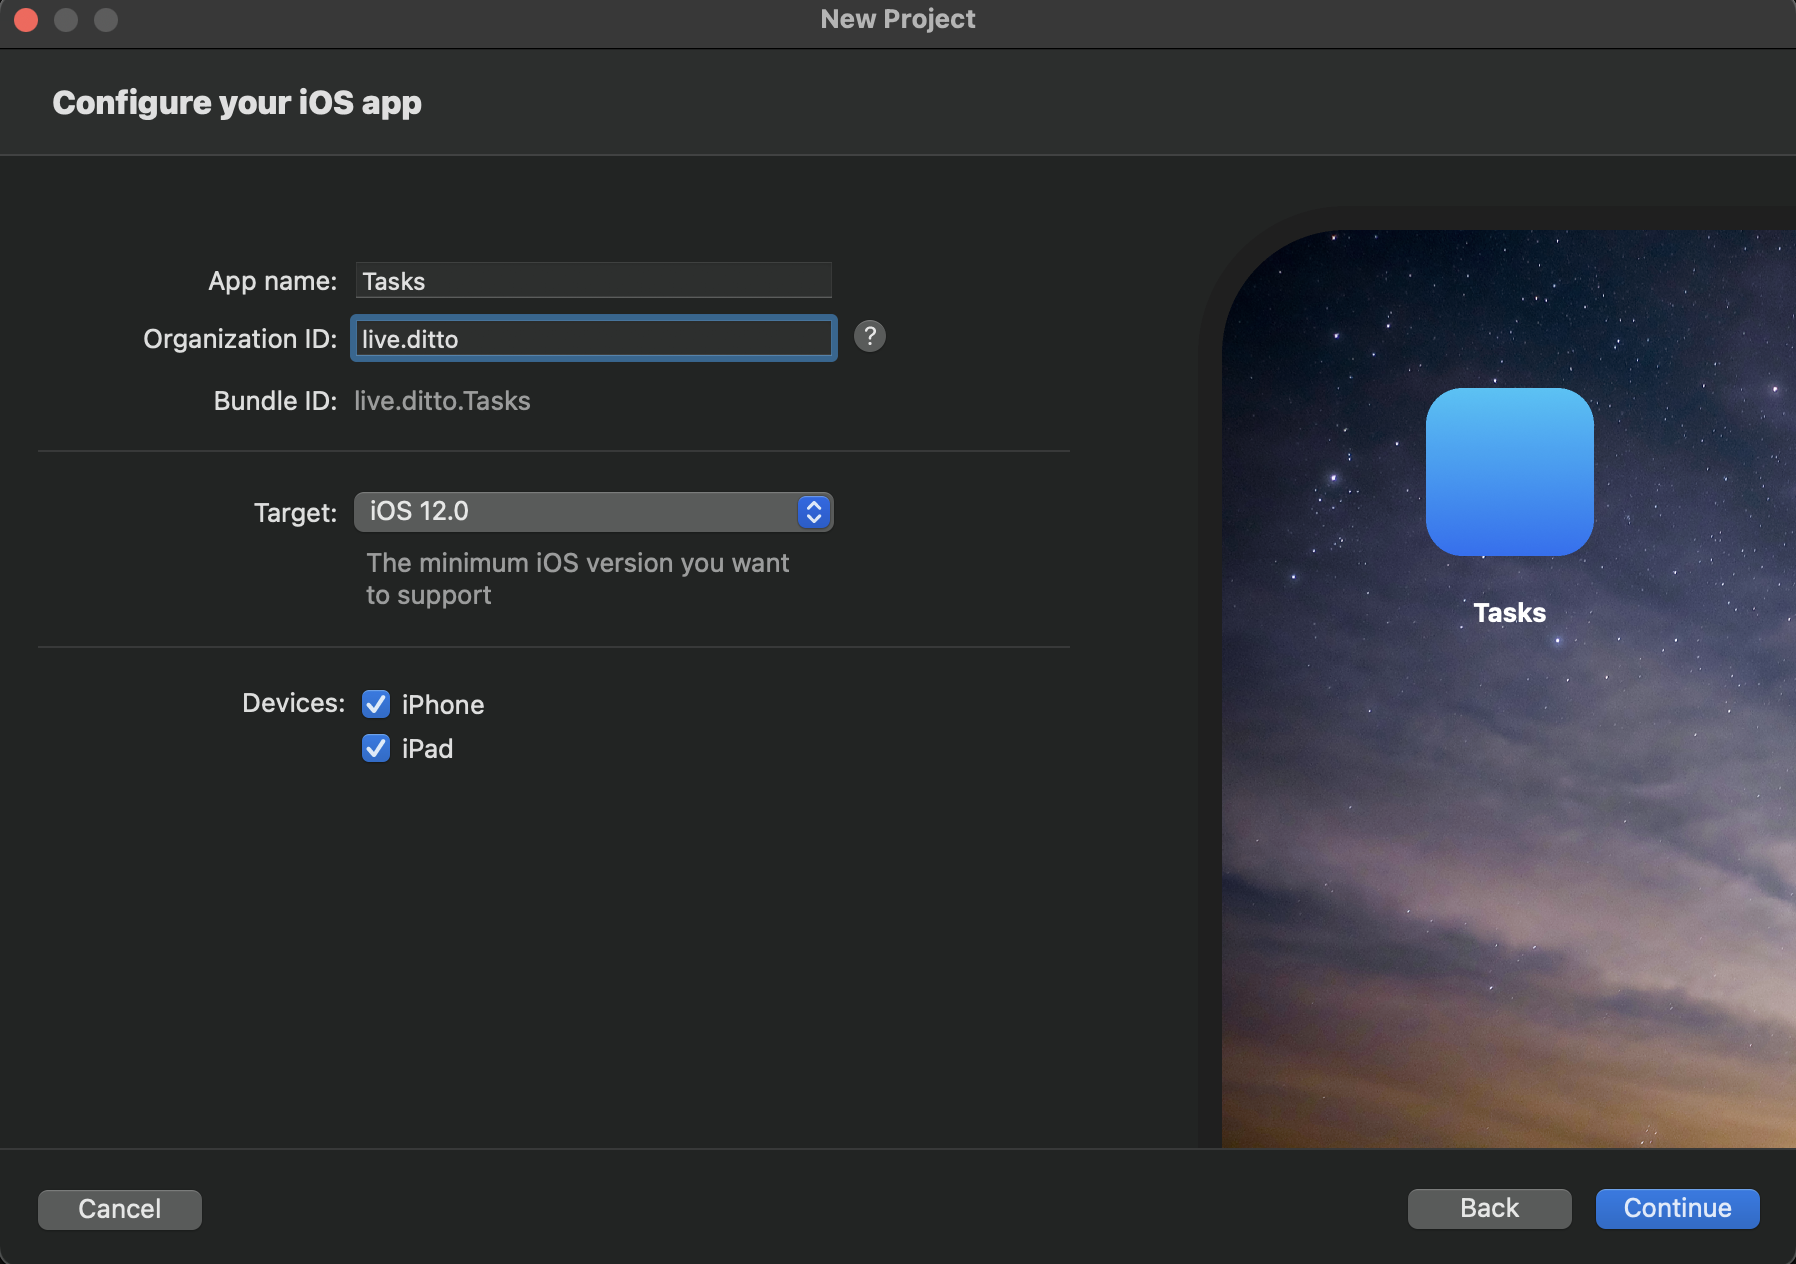
And finally click "Continue" and select a directory to create the application.
1-2 Add dependencies (Package Manager)
Follow the instructions on the Installation page for C# to use Package Manager or .NET CLI.
Now open Tasks.csproj.